Bighorn sheep are fairly elusive for most of the year, as they spend most of their time in the mountains. In the winter they are forced down to lower elevations to feed and become much more visible.
Solitude - Winter in Yellowstone
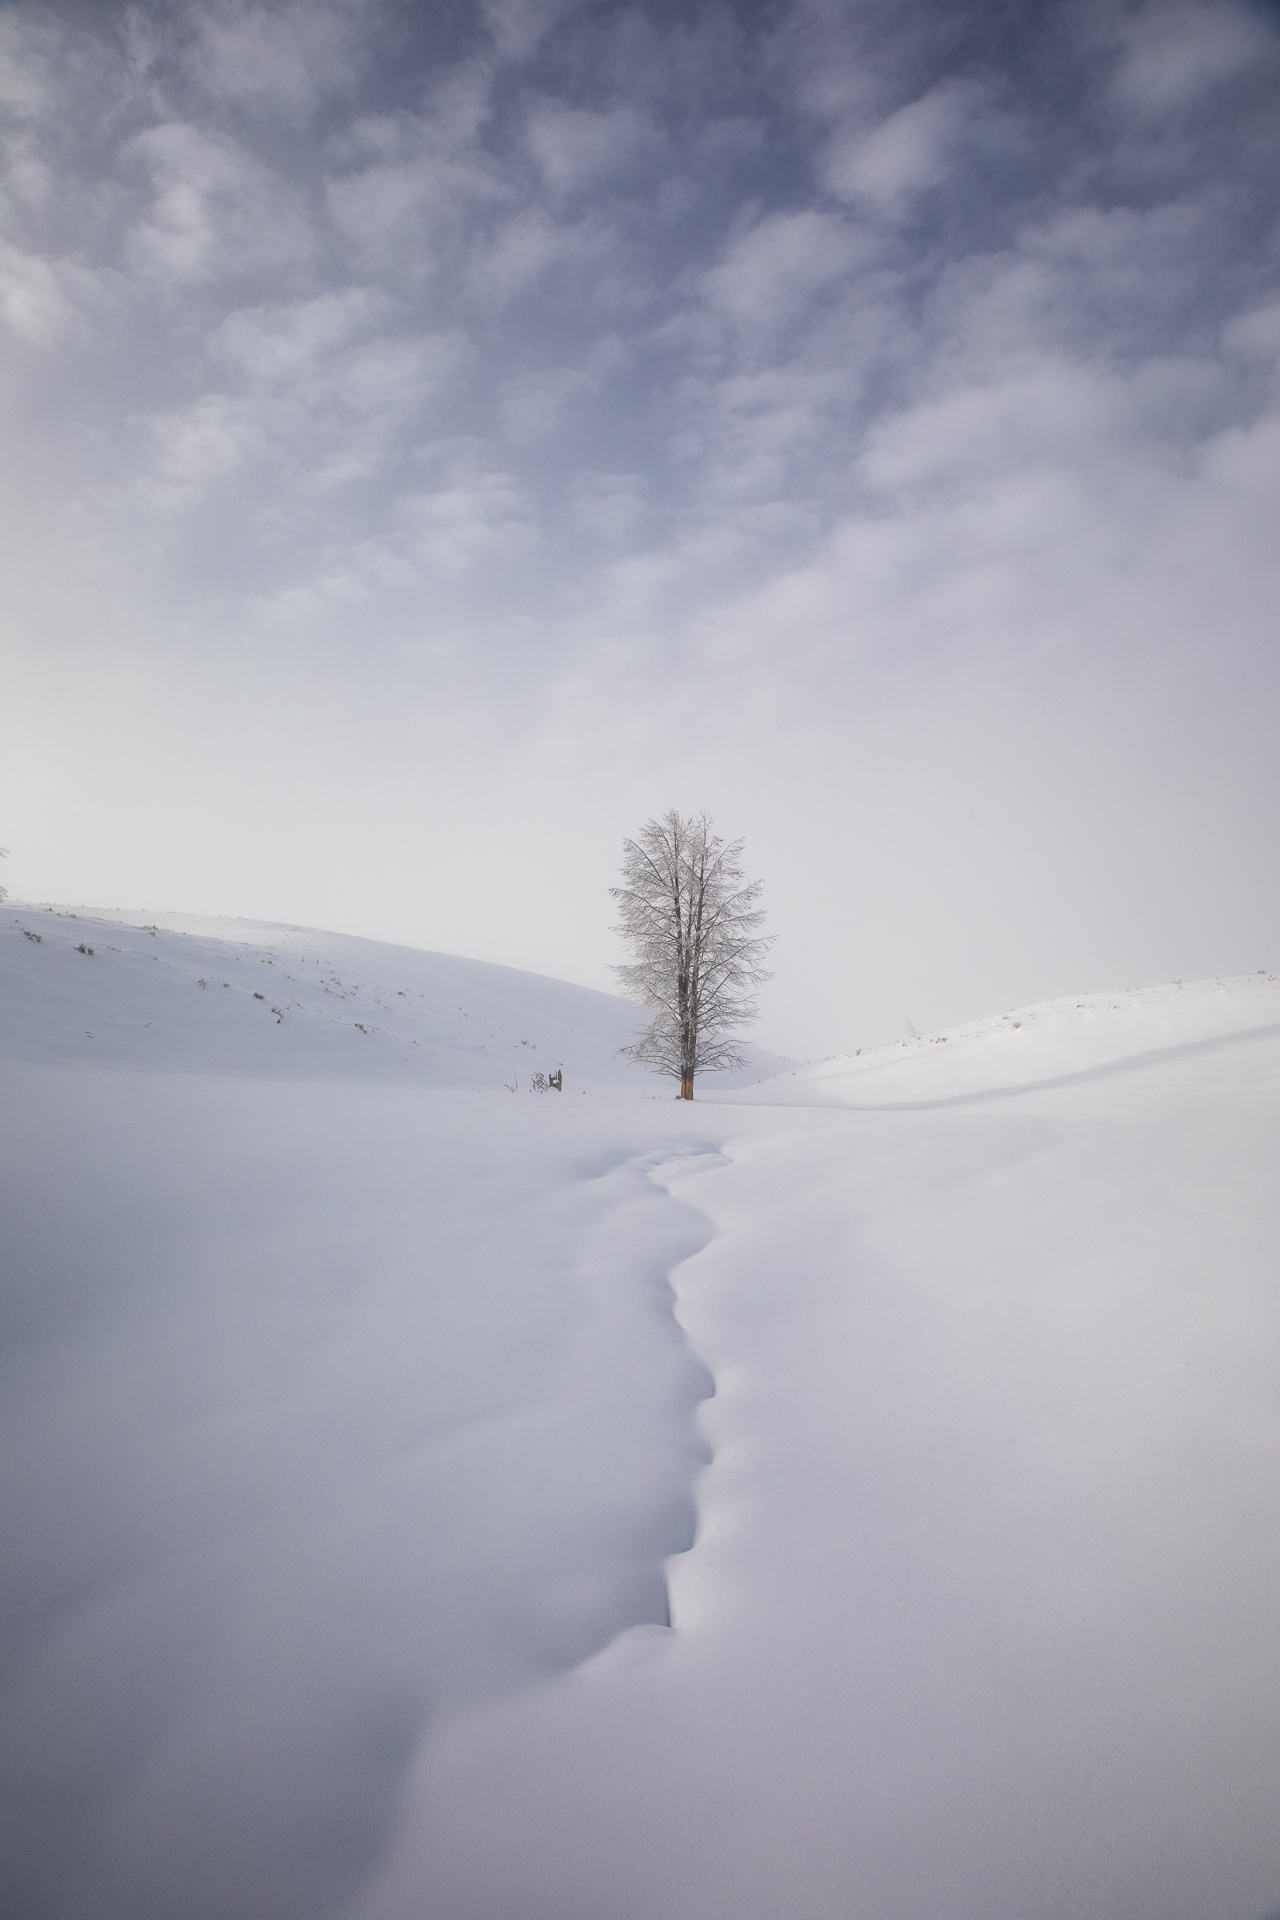
Hayden Valley has always been my favorite region of Yellowstone, but photographing it all alone in the quiet of winter is an unforgettable and altogether different experience. We photographed this tree on one my recent photo tours.
Bobby Sock Abstract in Yellowstone
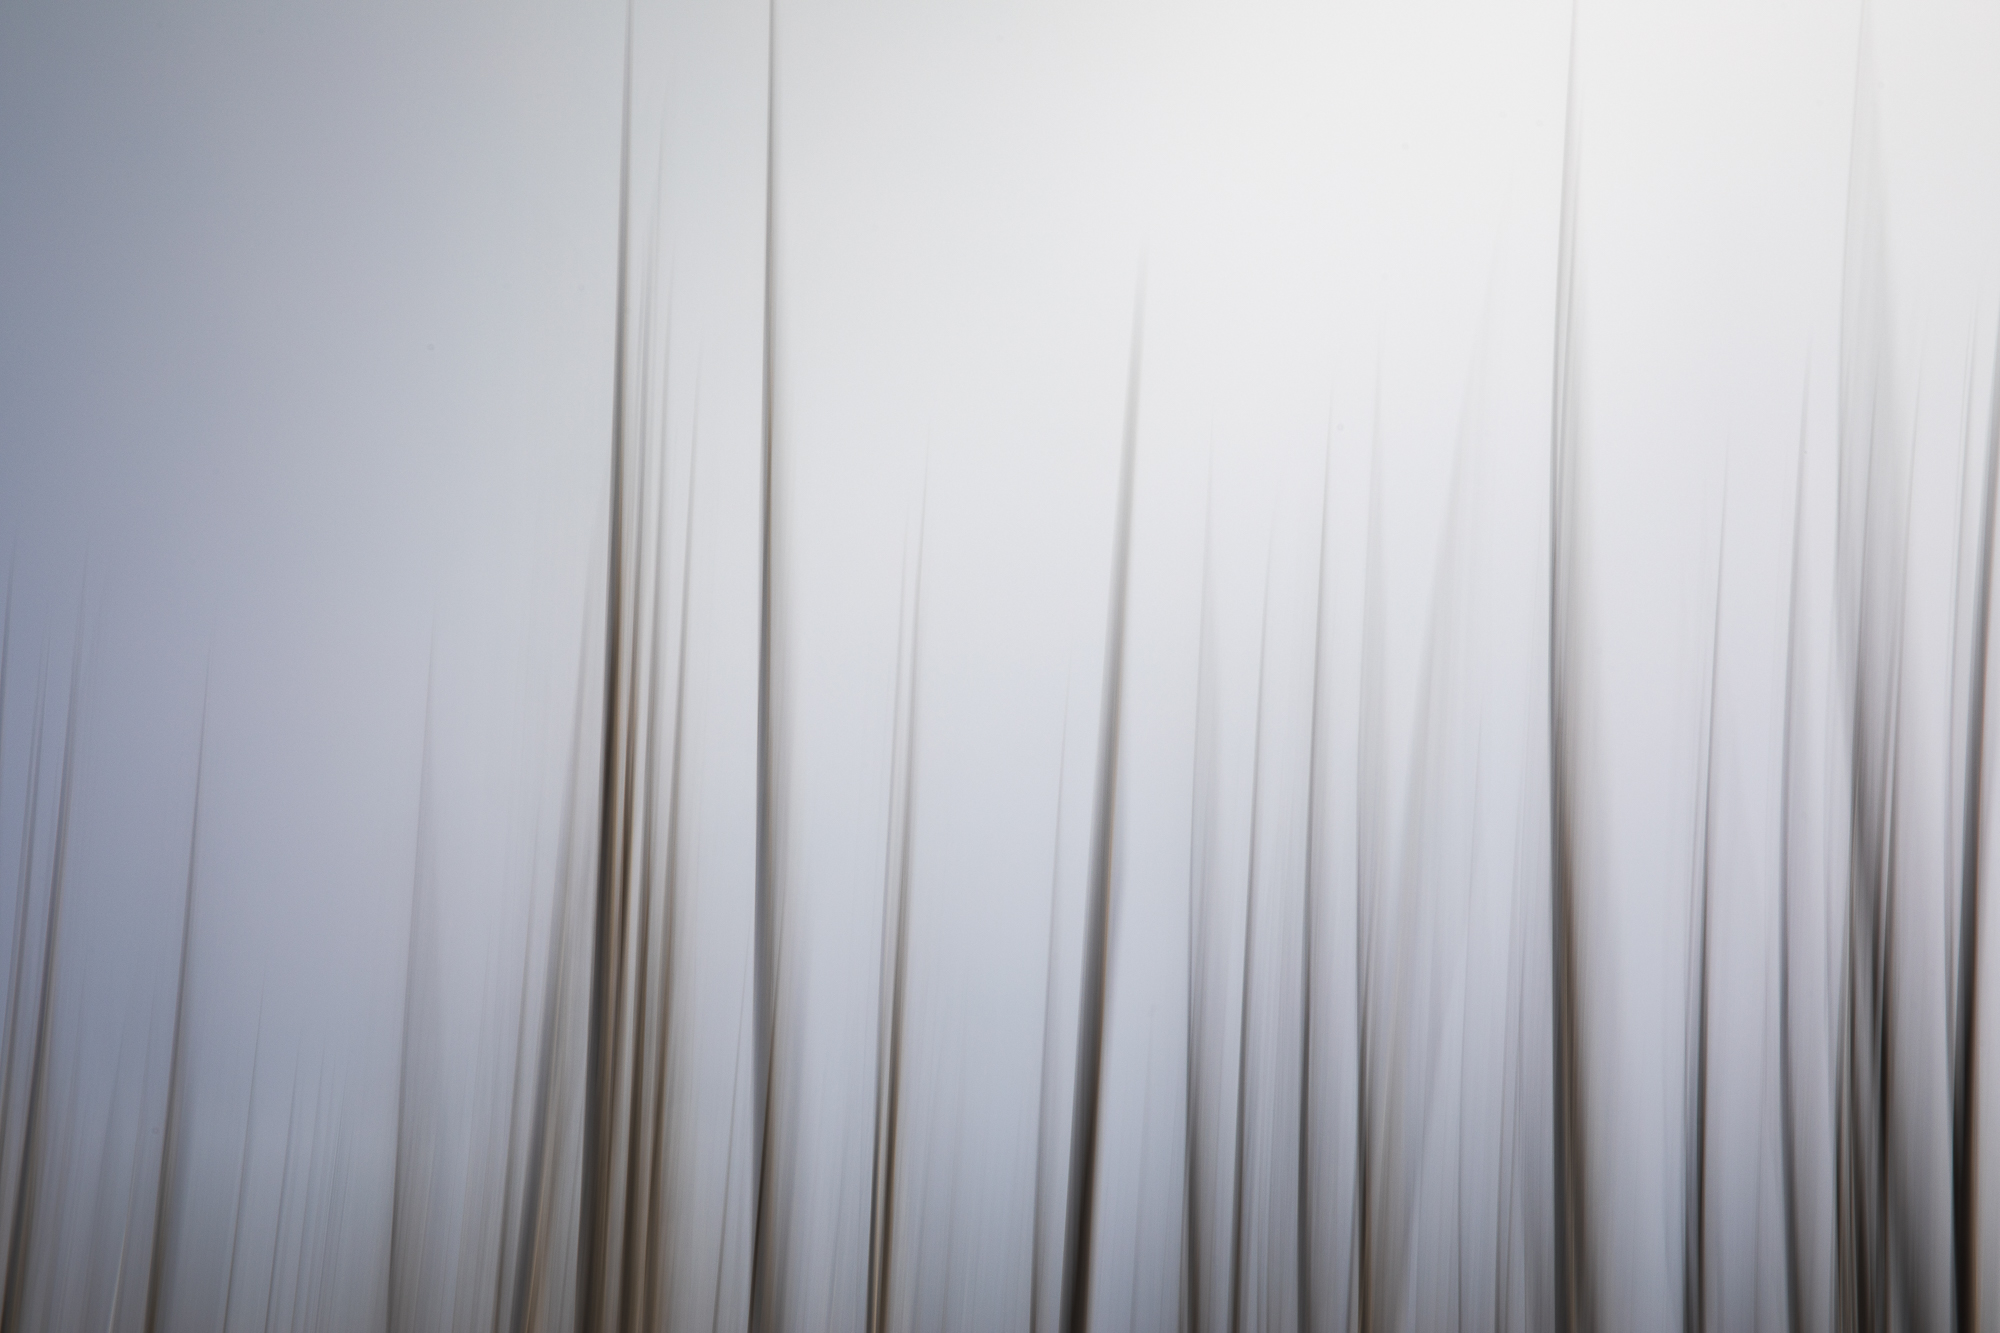
I tried a slightly different approach to bobby socks trees in Yellowstone. I’ve always loved this stand and how symmetrical they are. The temps weren’t cold enough for fog this morning, so I used a motion blur technique to soften the image a bit.
Red Fox in Grand Teton
There are few things I find more visually striking than a red fox against the white snow. I found this fox as it was hunting for rodents under the snow. The fox will listen carefully for movement under the snow, turning its head back and forth to pin point the sound before leaping into the air and diving head first into the snow.
The Dive
A humpback whale dives to begin bubble-net feeding in the Great Bear Rainforest.
Grizzly Cubs in the Great Bear Rainforest
Two grizzly bear cubs watch and learn as mom fishes for salmon in the Great Bear Rainforest.
The Spirit Bear
“In the beginning of time, the world was white with ice and snow. The creator, Raven, came from heaven and made the world green as it is today. But he wanted to make something to remind the people of the beginning so they would be thankful for the lush and bountiful land of today. So, Raven made one in every ten black bears white to remind the people of a time when glaciers covered this land." Spirit Bear Lore of the Kitasoo Xai'xais First Nation
The Spirit Bear is a rare subspecies of black bear that lives only along the central and northern coast of BC. There are less than 400 Spirit bears in existence, making them one of the rarest bears on the planet. Spending several hours last week with this young male as he fished for salmon was one of the most incredible experiences I have ever had in the wild.
Winter in Yellowstone - Intro
Winter in the Greater Yellowstone marries serene beauty and harsh realities in a way only an arctic like cold can. On some days you may be excused for mistakenly thinking you were located in the polar zone. Last January on my photography worksop we spent a day in the field with low temps reaching -40° F (40° C). Severe cold, blustering winds, and limited food resources present supreme challenges for wildlife to overcome. Nothing has kindled a deeper sense of respect for the fortitude and adaptability the inhabitants of this ecosystem posses than my time photographing them in the winter. The next series of posts over the coming days will highlight individual animals and their unique strategies for surviving, and even thriving in the gauntlet of winter.
Angry Squirrels
Throughout the year my time is mostly consumed with various photography projects and specific image goals. In these instances I know what subject I am photographing, and even the exact shot I am going for, such as the elk crossing the stream in the fog, or a Great Grey Owl flying in the snow. These images require excessive time scouting in the field to get one shot. I call this style “proactive” photography. In this proactive mindset I envision a scene I want beforehand and then go after it. I may not have control over all the elements, but I use research and knowledge to reduce as many variables as possible, and so increase the chances of making a truly remarkable image. However, this thoughtful approach to photography requires a lot of time, and some days I find myself playing catch up in the office and may only have a couple hours at the end of the day to get out in the field. Plus, there are times I just like to get outside with my camera and see what I can find. There is something about going out to photograph the unknown with an open and creative mindset that is relaxing.
On these days, while I may not have a specific subject in mind to photograph, I do have a plan; I listen to the squirrels.
Red Squirrels spend the summer and fall months harvesting pine cones and storing them in a cache known as a “Midden”. The Squirrels, being highly territorial and intolerant of any other creature in the vicinity of their middens, and also very small, resort to the best defense they know, an incessantly loud and obnoxious chatter. I realized the relevance of this knowledge for photography last year when I was looking for Great Grey Owls. I had just about thrown in the towel when I heard a squirrel alarm call which led me directly to the owl. Then it dawned on me…squirrels will bark at anything. If I simply wandered the woods following the sound of squirrel chatter I would likely have a higher success rate in locating owls, but I wonder what else I would find?
The next day I entered the woods armed with my new tactic. Eyes closed, I stood in silence and listened. No more than a minute had passed and I heard it. The angry squirrel. I followed the sound to the scene where I discovered two squirrels fighting. Entertaining to watch, but not what I was hoping for. A few moments later the sound of another defensive squirrel came ringing through the woods from the east. I arrived at the scene and found the squirrel barking up a storm from its lofty perch in a lodgepole pine, but was clueless as to what set it off. As I spun in another circle scanning the area, the culprit emerged from behind a log. A pine marten! The initially timid weasel was now overcome with curiosity and began to approach me. I stood still until it was comfortable with my presence and resumed the evening hunt.
After an hour of tripping over logs trying to keep up with the marten, I decided to put the last hour of light towards finding another angry squirrel. I slowly walked along a stream bank about 300 yards, and heard another alarm call to the south. The call led me to the edge of a small meadow where I found a Great Grey Owl intently focused on a light rustle in the grass.
Here are a few other recent highlights from my outings in the woods following squirrel chatter:
Feeling Stagnant in your Photography?
Now is an exciting time to be photographer because it is so accessible, but it’s also harder than ever to stand out. Why?
I see 2 reasons:
- The obvious…there are more photographers now than ever before. Whether your photography is professional or recreational this can be daunting…how can your work stand out amongst so many others?
- Most photography is emulative, not Creative. Look around, the vast majority of photography you see looks the same. We see a beautiful image and want to copy it. How many photos have you seen of the same waterfall in Iceland? Getting inspiration from other’s work is good, but we need to bring our own vision to bear in our work. We will touch more on this in the near future.
If you are reading this, then chances are that photography is your creative outlet. I want to help you develop your own style as a photographer, whether professional or hobbyist, by sharing what I’ve learned in my career. But be forewarned, this process may require you to forget everything you ever thought you knew about photography.
Are you ready? Lets begin…
A pivotal moment in my photography came years ago when a mentor of mine and fellow photographer suggested we walk through the world-renowned National Museum of Wildlife Art here in Jackson Hole. I had visited the museum before and enjoyed it, but this time he suggested we approach it differently. I was getting bored with my photography. For years I had drawn inspiration from other more experienced photographers and my aim, whether I realized it or not, was to develop my own collection of images that could stand up next to theirs and be virtually indistinguishable. With time I developed the portfolio I dreamed of…and I was bored with it. I slowly began to realize that by copying others photography I had stifled my own creativity.
Here is what I want you to do:
1) Take some time to look at famous paintings. Click here to view a compilation of paintings online. Of course, if you have access to a museum or gallery, then do that.
Forget everything you thought you knew about photography and allow your assumptions to be challenged asking these questions:
How does the painting guide the viewers eye thorough the scene to the subject?
How does the artist utilize light and shadows? Composition? Space? Detail?
What is the perspective? Is the viewer looking down on, or up at the subject?
2) Tell me about your experience. What stuck out to you regarding the questions above? How were you challenged? You can tell me over email.
How to photograph the sun without permanent eye damage
- Snake River Fog -
One of the first rules people learn in photography, to which they have unwavering fidelity, is always to photograph with the sun at your back. While this a helpful concept in the beginning, the rule, like most "rules" in photography must be broken in order to advance your work beyond the standard family vacation portrait. What sets an experienced photographer apart is not that he/she simply breaks the rules of light, the rule of thirds, etc, but that they have discernment to recognize the situation in which breaking the norms will transform a photograph into a piece of art. Experimenting with frontal light, side light, and back light is an essential step in taking your photography to the next level.
In the case of the image here, I was not simply photographing towards the sun (backlight), but also the sun itself. Properly utilized, this approach can create a dynamic and captivating image. Poorly used, this technique will not only ruin your image, but also your eyesight and thereby future in photography. Here are a few things to consider when including the sun in your photography:
- It can't be the whole sun. I find this really only works in scenarios where the sun is at a low angle (sunrise or sunset) and is partially obscured. My favorite circumstances for this are fog and clouds. In the image above the rising sun was breaking through a fog layer on the bank of the Snake River.
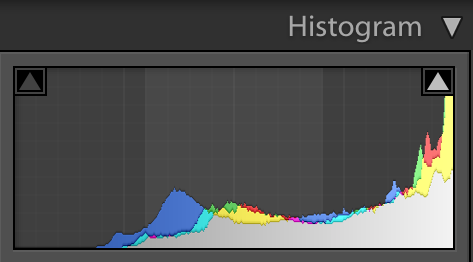
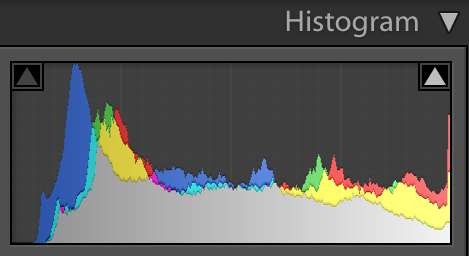
- Underexpose the Image. If you've spent much time dabbling in landscape photography you will have inevitably heard the phrase "always preserve the highlights." This is true...for the most part. Essentially, this means that you always want to expose your image for the brightest part of the scene so that you don't blow out the highlights. However, when you are including the sun itself in the image there will be an inevitable hotspot the blows out the right side of your histogram (as seen below). In this instance I am not concerned with containing all the highlights, but rather I am focused on how large I want that bright spot to be. In this scene I wanted the hotspot to take up roughly a third of the sky. This required me to underexpose the image 2.5 stops.


"Fog Crossing" - How Knowledge of Wildlife Behavior Informs Photography
I had visualized this shot long before it came together. I knew that the elk crossed the river at dawn every morning to head into the timber for cover, so I had that going for me. However, where exactly they cross and whether there would be enough light for a photograph was an unknown, and then add that elk are extremely intelligent and wary, so they spook easily. As I set out in the dark before sunrise I could the bull bugling nearby. I quietly hiked to my spot and waited, meantime the prehistoric scream was getting louder and louder. Just as there was enough light on the river the bull appeared on the bank and began swimming across the river.


